Having a website is a must-have for anyone, and it’s no different for businesses. But when it comes time to host your website, you have a big choice to make: do you go with a web hosting service, or do you want to host it yourself?
Hosting your website gives you more control and customization than traditional web hosting services can offer. In this ultimate DIY guide, we’ll look at why you might host your website, and we’ll also look at the pros and cons of hosting your website.
Whether you’re an experienced developer looking for complete control over your online presence, or you’re just starting and want to learn and try something new, hosting your site can be a great way to do it with the right tools and knowledge.
Why You Might Want to Host Your Own Website
There are many reasons why people and businesses might want to host their own website. One of the main reasons is to have complete control over their online presence. When you host your own website, you can customize everything from server settings to security protocols. You don't have to worry about being limited by the restrictions of a third-party hosting provider.
You may also want to host your website because you don't want to pay monthly or yearly fees for web hosting services. Self-hosting can save you money over time. For developers and tech gurus, hosting your website is a great way to learn more about web technologies and get hands-on experience managing servers.

Benefits and Drawbacks
There are pros and cons to hosting your site. On the one hand, you have complete control over your site. You can set up your server, install whatever software and applications you want, and optimize your site to meet your specific needs. On the other hand, hosting your site independently can increase the risk of a data breach or a server vulnerability that can occur in a shared hosting environment.
Self-hosting comes with a lot of responsibilities and challenges. You’ll need to set up, maintain, and implement your security protocols, which can take a lot of time and effort. You’ll also need to spend more money upfront on hardware and infrastructure than you would if you were to use a web hosting company. It’s important to consider your technical skills and resource availability when deciding whether or not to self-host your site.
Prerequisites for Hosting Your Own Website
Before you can start hosting your site, you’ll need to make sure you have the right hardware and software. The following are the most important hardware requirements:
Computer or server:
You’ll need a computer or server that will act as your website’s host. You’ll want a computer with enough processing power, RAM, and storage capacity so that you can process incoming web traffic and store your website files, as well as run your server software. A basic desktop computer will do for a small website or personal project, but if you’re hosting a large website or expecting high traffic, you may want to consider a more robust server. ·
Internet connection:
Having an internet connection with good bandwidth is key to hosting your site. This connection will allow users to access it over the internet, and it will also ensure that your server’s data transfers between visitors’ web browsers and your site’s pages and assets are loaded quickly. Be sure to factor in the upload speed when setting up your internet connection.
What are the software essentials?
Web server software:
Web server software serves web pages to visitors’ browsers when they want to access your website. Common web server software options are Apache, Nginx and IIS.
Operating system :
The operating system is the foundation of your server environment and affects your website’s compatibility and performance. Linux distributions such as Ubuntu, and Debian are popular operating systems for web hosting. Windows Server is a popular OS for Windows-based environments.
Domain name system software:
DNS software translates a human-readable domain name (like “.example.com”) into IP addresses so that users can access your website using that domain name. Many web hosting services offer DNS management, but you may need to configure and set up your domain’s DNS records using BIND or Microsoft DNS Server.
DBMS (Database Management System)
If your website depends on dynamic content or uses a database, you’ll need a DBMS (Database Management System) to store, load, and process data. Database management systems are commonly used to manage databases, such as MariaDB, MySQL, PostgreSQL or Microsoft SQL Server. It’s important to choose a DBMS that’s compatible with the web server software and the programming languages used in developing your website.

How to Host Your Own Website: Step-by-Step
Hosting your own site can be a great way to take control of your online presence. This guide will walk you through the process step by step.
Server Setup
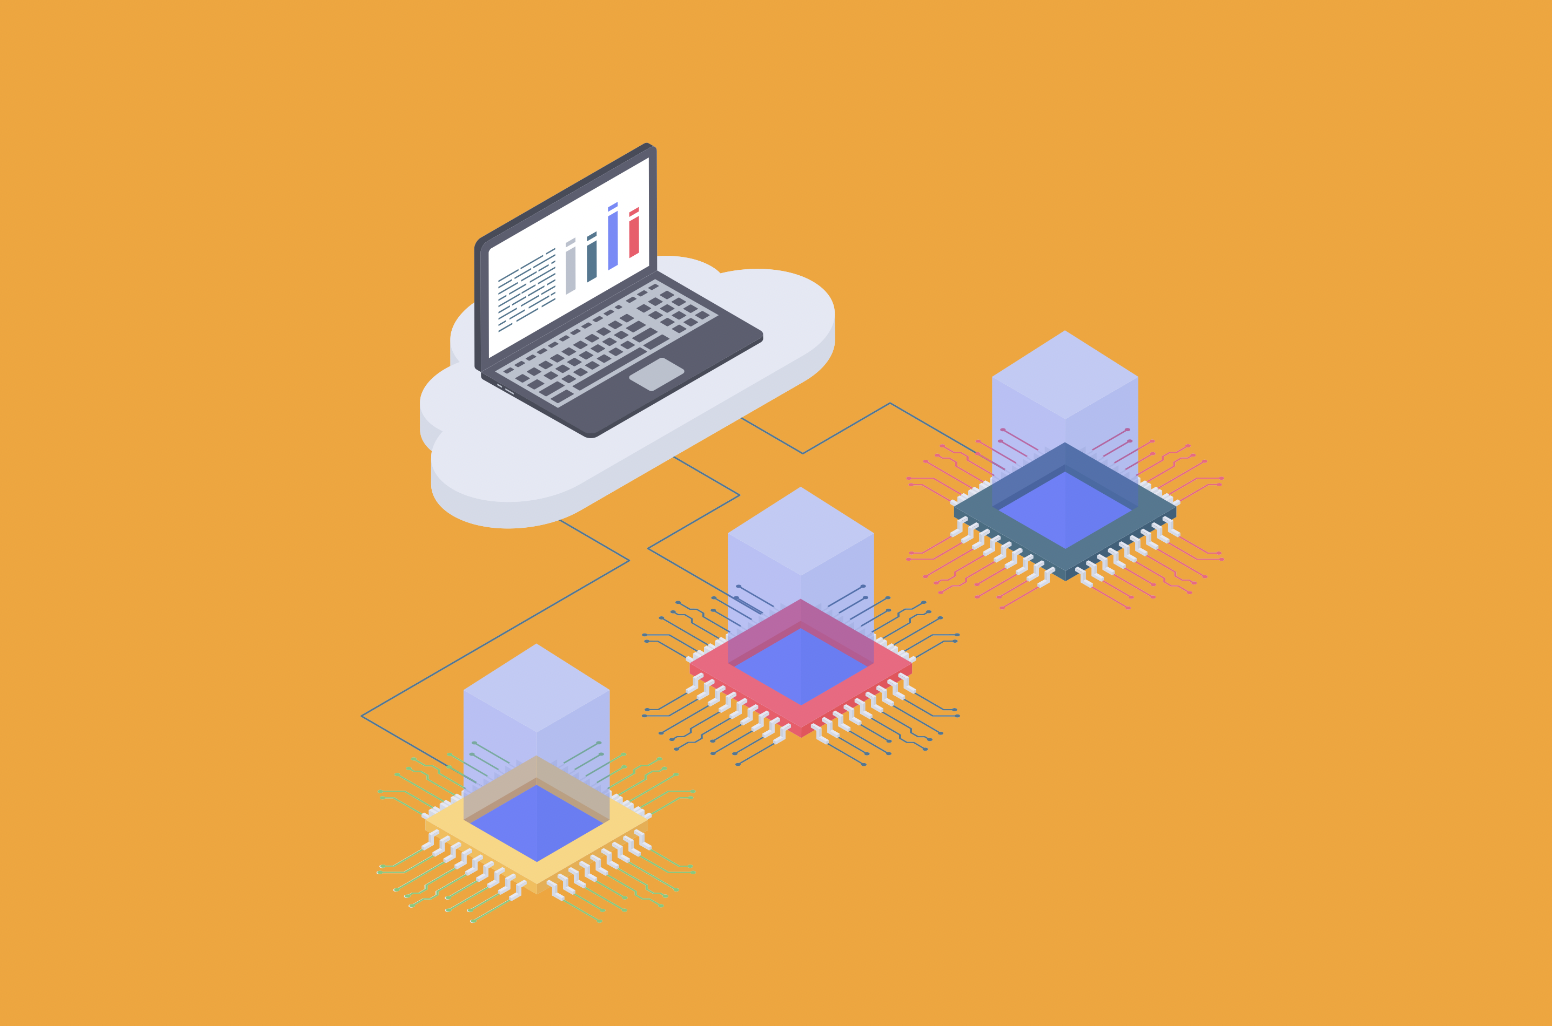
The first important step in hosting your site is setting up your server. This can be done on a dedicated server, VPS, or on a cloud hosting platform.
Step 1: Selecting a Hosting Environment Select a hosting environment that meets your needs and is compatible with your technical expertise. This can include self-managed servers or managed hosting options offered by providers such as AWS, Google Cloud Platform, and DigitalOcean.
Step 2: Provisioning Your Server Your server instance should be provisioned with the necessary resources such as CPU, RAM, or storage space.
Step 3: Configuring the Operating System Select the operating system (such as Linux or Windows) that best suits your needs and requirements.
Step 4: Installing Required Software Installing and configuring essential software components like a web server (such as Apache or Nginx) and database server (such as MariaDB, MySQL or PostgreSQL) are necessary to support your website’s functionality.
Domain Configuration
Once you’ve set up your server, you’ll need to set up your domain name so that it points to your server’s IP address. To do this, follow these steps:
Register your domain name: Select and register your domain name with a domain registry or hosting provider to ensure that your domain name reflects your brand and that it’s easy to remember and match up with your website’s content.
Set DNS Records: Go to your domain registry’s control panel and set DNS records (for example, an A record or a CNAME record) so that your domain name points to the IP address of your server. This way, visitors will be able to use your domain name when accessing your website, and you’ll have the option to configure your own name servers if you’re managing DNS independently.
Installing a Content Management System (CMS)
A CMS is a content management system that makes it easy to create, publish, and manage your website. To install a CMS, follow these steps:
Select a CMS: Choose a CMS that meets your website's needs and your knowledge of the features and functionality. Common CMS options include WordPress (WordPress), Joomla (Joomla CMS), Drupal (Drupal CMS), and Magento (Mozilla CMS).
Download the installation files: The installation files for your CMS can be downloaded from the official CMS website or repository.
Upload the files to the server: Use FTP or Secure Shell to upload the files to the web root directory of your server.
Run the installation wizard: Open your website in your web browser and use the installation wizard to set up database settings, administrative credentials, and the installation process.
Security Measures
Securing your self-hosted website is essential to protect it from cyber threats and protect sensitive data. The two most important security measures you need to implement are SSL certificates and HTTPS configuration.
SSL certificates
SSL certificates are used to encrypt data transmitted from a user’s web browser to your website’s server. This ensures that sensitive information like login credentials and payment details, as well as personal data, remain private and safe.
How to Deploy an SSL Certificate?
Purchase an SSL Certificate from a trusted Certificate Authority (CA). You can also use a free certificate provider like Let’s Encrypt to purchase an SSL Certificate.
Installing an SSL Certificate on the server
You can install an SSL Certificate on your server by generating a CRS (Certificate Signing Request) and submitting it to your CA. You can also install the certificate on your server by configuring it with the HTTPS protocol (HTTP Secure). Make sure to update your website’s URLs to use HTTPS.
Update and Maintain
Ensure that your web server’s SSL certificate is up-to-date and secure by regularly renewing it before it expires. Stay up to date on security updates and best practices for SSL/TLS configuration.
Firewalls
Firewalls protect your website by monitoring and controlling your network traffic based on pre-defined security rules. Installing and configuring a firewall on your server can help protect your site from unauthorized access, cyberattacks, and other security threats.
Consider these firewall options: - Host-Based Firewall is a firewall that is installed and configured on the operating system to filter network traffic. You can create rules to allow or prohibit certain types of traffic using tools like iptables for Linux and Windows Firewall for Windows.
Web Application Firewall is a web application firewall (WAF) that protects your website from common attacks on the web, including SQL injection, XSS (Cross-site scripting) attacks, and DDoS (Distributed Denial-of-Service) attacks. A WAF analyzes incoming HTTP traffic and filters out suspicious requests before they can reach your web site.
Network Firewalls are a great way to protect your network infrastructure from outside threats. A network firewall can be hardware or software-based, and it provides an extra layer of protection against unauthorized access to your network and malicious activity.
Maintenance and Monitoring
Regular Updates
Maintaining the health, performance and security of your own-hosted website requires regular updates and backup procedures.
Updating your website’s software (operating system, website, CMS, plugins, themes, etc.) is essential for addressing security vulnerabilities, fixing bugs and adding new features. If you don’t update your software regularly, your site can be vulnerable to cyberattacks, malware infections and performance issues. Keep these best practices in mind when updating your website:
CMS Updates:
Check for and install CMS updates (WordPress, Drupal, etc.) as soon as available. Many CMS platforms offer alerts or dashboards that allow you to initiate updates easily.
Plugin and Theme updates:
Review and update the plugins and themes you have installed on your site to make sure they are up-to-date and have been patched for security vulnerabilities. Take out any plugins and themes that are outdated or unused to minimize the risk of a security breach.
Operating system and server updates:
Ensure that your server’s operating system (OS) and web server (Web server software (Apache, Nginx)) are up-to-date by applying security updates and software updates from the appropriate vendors. If possible, set up automatic updates to ensure that patches are installed on time.
Test updates:
Ensure that updates are tested in a testing environment before being applied to the live website. This way, you can test the updates to see if there are any compatibility issues or conflicts, or if there are any unexpected changes that affect the functionality of the updates. This helps to reduce the risk of disruption to the live site while the updates are being applied.

Backup Procedures
Your website’s data and content should never be lost, corrupted, or accidentally deleted. That’s why it’s important to have reliable backup procedures in place to ensure that your website can be restored quickly in case of a security breach, server outage, or loss of data.
Here are some backup best practices to keep in mind:
Create Automated Backup Schedules
Create automated backup schedules to create scheduled backups of files, databases and configuration settings on your website. Set a frequency (for example, daily or weekly) that matches the update frequency and volatility of your website’s data.
Securely store backups
Keep your backups safe by storing them in an offsite location, such as a cloud storage service (such as Amazon S3 or Google Cloud Storage), or on a remote server. This helps to protect your backups from local hardware issues or disasters.
Test Backups
To test your backups, restore them to a different environment to see if they’re good to go. This way, you’ll know if you’re ready to recover your website in an emergency and if there are any issues with your backup process.
Retention Policy
Set a retention policy for your backup archives. This will determine how long you’ll keep them before cleaning them. You’ll need to consider legal requirements, data retention policies, and your website’s storage ca
How Much Hardware Do I Need to Host My Own Website?
You will need a computer with enough processing power, memory, and storage capacity to host your own website. You can also use a dedicated server, or a VPS (Virtual Private Server) provided by your hosting provider.
Do I Need to Buy a Domain Name to Host My Website?
If you want to host your website on the internet, you’ll need to buy a domain name (for example, yourwebsite.com). Domain registrars offer domain registration services, and you’ll usually need to pay a yearly fee to reserve your domain name.
How Can I Host Multiple Websites on the Same Server?
The answer is yes. You can set up multiple websites on a single server. This is known as virtual hosting or virtual server. You can set up different directories or domains for each website you want to host on the server. This way, you can keep them separate from each other.
How do I set up DNS for my self hosted website?
To set up DNS for your self hosted website, you’ll need to go to your domain registry and update your domain’s DNS records. You can do this by specifying your server’s IP address or by setting up DNS records like A, CNAME, and MX.
What Security Measures Should I Take for My Self-Hosted Website?
For self-hosted websites, the following security measures should be taken: installing SSL certificates to encrypt data sent between the server and the visitors’ browsers; configuring firewalls to prevent unauthorized access; installing strong password policies; installing software to patch security vulnerabilities.
Conclusion
Hosting your own site can be a great way to make money, but it comes with its own set of challenges. In this guide we’ve looked at everything you need to know about hosting your own site, from server setup and domain configuration to security measures and maintenance.
When you host your own site, you’ll have more control, flexibility and customization options than you would with a traditional hosting service. You’ll be able to customize your hosting environment however you want, whether you’re building your own personal blog, e-commerce site or business website.
You’ll also have more control over the security measures you put in place to make sure your site is running smoothly and safely.
Additional Resources
If you want to further improve your knowledge and skills in hosting your website, here are some recommended tools and resources to consider:
Web hosting software: Platforms such as Apache, Nginx and Microsoft IIS offer powerful web server software options to host your website. Check out their documentation and community for detailed guides and troubleshooting advice.
Domain registrars: Domain registration is an important part of hosting your website, and you can find great guides and support from popular domain registrars like Stablepoint.
Content management systems (CMS): WordPress, Joomla and Drupal are popular CMS platforms that make website creation and management easy. Check out the documentation and user forums for instructions on installing, customizing, and optimizing your CMS.
Security tools and plugins: Use tools and plugins like Sucuri Security, to implement additional security measures.

Nadejda Milanova
An experienced Content creator in the field of Search Engine Optimization (SEO) and WordPress. A true proffesional with a Master's degree focused on journalism.
Read more by Nadejda Milanova


