
Google Chrome users report an ERR_CONNECTION_REFUSED error. This error message stops your activities and makes it almost impossible to reach a website without correction.
We are all used to surfing the internet at fast speeds and getting the information we need in seconds. That's why it's so frustrating when a problem pops up that separates us from reaching our destination.
Don't worry - we are here to help you. In this article, you can see the top ERR_CONNECTION_REFUSED fixes in Google Chrome. Everything described below can be done in a few minutes, even if you have never done troubleshooting before.
What is the ERR_CONNECTION_REFUSED error?
To the average user, this error seems quite frightening. There is not much information that you see on the screen when the error occurs, which makes it a challenge on its own to troubleshoot. That is why we are here to help you.
Let's start with the basics. This error can be encouraged for almost any browser with different names. This is a customer problem that is most likely related to your internet connection. Many things play a role in why the error occurred to you. For example, an incorrect antivirus program, DNS configuration, or browser settings may be the culprit.
In rare cases, the error may occur because the website itself is not available. However, by default, Google Chrome gives a different error message, if this is the case.
Use the methods below to correct ERR_CONNECTION_REFUSED on your Google Chrome, no matter what caused it. If one method doesn't seem to work, move on to the next! There are many reasons for this error, you can't go wrong by trying other troubleshooting methods.
Method 1. Check the status of the website you are visiting
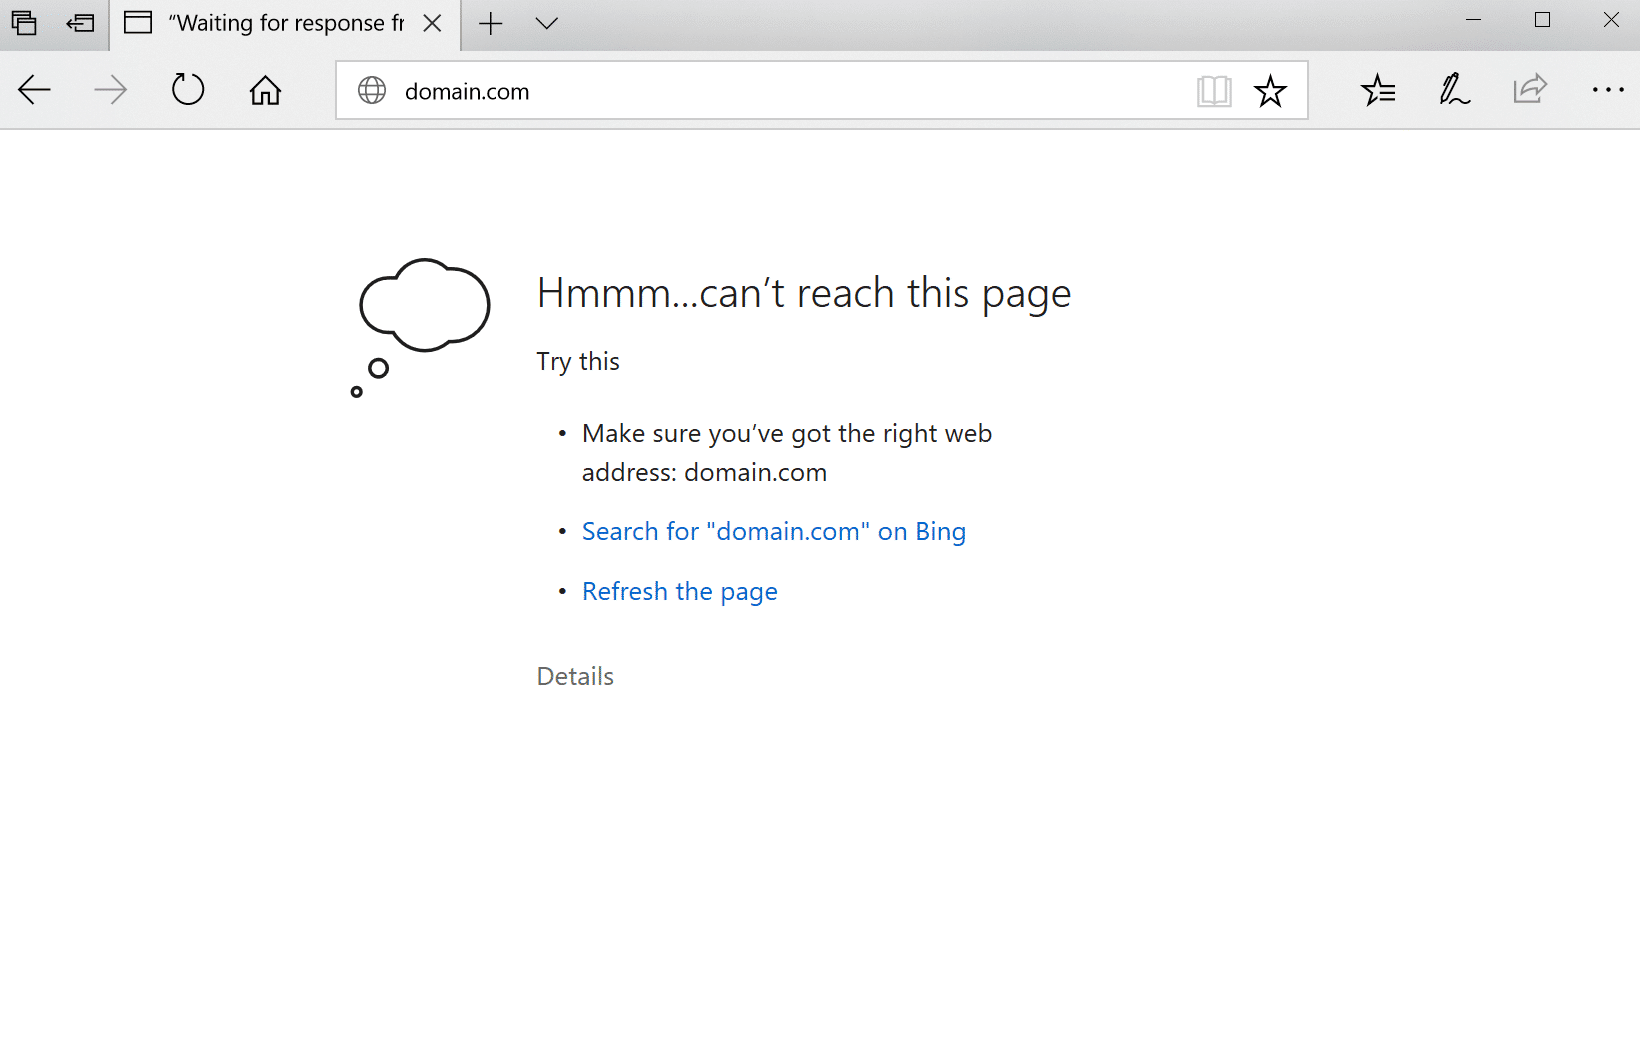
The first thing to do when looking to fix this error is to check the status of the website you are trying to visit. If the website does not work, then you are not the only one who gets the error and you have to wait for the website owners to fix it.
Unfortunately, if the website you're trying to access doesn't really work, all you can do is wait. Try contacting the owners and reporting the problem. Once they are aware of this, they can start working on the correction.
Method 2. Restart your router
Something you should always try when you face internet issues is restarting your router. This will allow the device to sort itself and eventually fix any current problems in your system.
You can restart your router in 3 easy steps:
Find the power button on your router and turn off the device. Wait a few minutes. We recommend that you wait 5 minutes to allow your router and network to shut down properly. Turn on your router again.
Method 3: Stop syncing with your Google Account
Some users have reported that stopping syncing with their Google Account and Google Chrome has fixed an ERR_CONNECTION_REFUSED error.
Open Google Chrome and enter chrome: // settings / people in the address bar. If you have a Google Account associated with your browser, click the Disable Sync button.
Restart Google Chrome and see if the error still occurs when trying to access a website.
Method 4: Clear your browsing data
Clearing cache and other browsing data can help resolve an ERR_CONNECTION_REFUSED error faster than expected.
Open Google Chrome, then click | More ▼ icon (displayed by three dots arranged vertically) and hold the mouse cursor More tools. Click Clear Browsing Data here.
Make sure the Time Range is set to All Time. Make sure all of these options are checked: Browsing history, Cookies and other site data, and Cached images and files. Click the Clear Data button. Once the process is complete, restart Google Chrome and see if the error still occurs when you use the browser.
Method 5: Temporarily disable your antivirus software
Antivirus applications are known to cause computer problems by interfering with your Internet connection. You can test whether the antivirus you are currently using is causing an ERR_CONNECTION_REFUSED error by temporarily disabling it.
Note that this method is not recommended, as it is dangerous to use your computer without protection. Continue only if you are aware of the possible risks and have a backup of your system to repair any damage.
Right-click an empty space on the taskbar and select Task Manager. If Task Manager starts in compact mode, be sure to expand the details by clicking the Details mode button. Switch to the Start tab using the title menu at the top of the window. Find your antivirus application from the list and select it by clicking on it once. Click the Deactivate button, which is visible in the lower right corner of the window. This will disable the application from starting when you start your device. Restart your computer and use Google Chrome to see if the error reappears. If not, your antivirus is the most likely culprit.
Method 6. Clear your DNS cache
If your DNS is outdated, you can manually clear its cache to potentially fix the problems it is causing. The method is simple and involves the use of the command line. Note that you may need to use an administrator account to perform this method.
Press the Windows + R keys on the keyboard. This will open the Run utility. Type in cmd without the quotes and press Enter on the keyboard. This will launch the classic command line application. Insert the following command and press Enter Execution Key: ipconfig / flushdns Please close the command line and check that Google Chrome is still showing you an ERR_CONNECTION_REFUSED error.
Method 7. Change another DNS address
A quick fix to this problem is to change your DNS server. This way you can bypass the limitations and even get better internet speed on your device. Here are the steps to quickly change your DNS server to a well-known, fast, and public DNS.
Press the Windows + R keys on the keyboard. This will open the Run utility. Type in control and press Enter on the keyboard. This will launch the classic control panel application. Click Network and Internet, then select Network and Sharing Center. From the side menu, click Change connection adapter settings. This will open a new window. Right-click the link you are currently using and select Properties. Scroll down and click on Internet Protocol version 4 (TCP / IPv4). Click the Properties button. Select Use the following DNS server addresses. Type 1.1.1.1 in the first row, then 1.0.0.1 in the second row. This will change your DNS on the popular 1.1.1.1 server, which you can read more about by clicking here. Click OK to apply your changes. Try using Google Chrome and see if the error is resolved after modifying your DNS server.
Method 8: Remove unnecessary Chrome extensions
Google Chrome extensions are known as hits or a miss. Some extensions may contain malicious code or features that interfere with the websites you visit. We recommend that you disable any unnecessary extensions that you have installed to see if it fixes your error.
Open Google Chrome, then click | More ▼ icon (displayed by three dots arranged vertically) and hold the mouse cursor More tools. Click on Extensions here. Alternatively, you can type chrome: // extensions / in your browser and press Enter.
Click the Remove button on any extensions you don't recognize or don't need. Check if you can surf without ERR_CONNECTION_REFUSED an error occurs.
Method 9: Reset Google Chrome
If nothing else works, resetting Google Chrome settings may work. You can try this method by following these steps.
Open Google Chrome, then click | More ▼ icon (displayed by three points arranged vertically) and select Settings.
Scroll to the bottom of the page and click Advanced. Navigate to Reset and clear, and then click Restore settings to their original settings. restore default settings Click the Reset Settings button.
Once the process is complete, restart Google Chrome and see if the ERR_CONNECTION_REFUSED error still occurs when you use the browser. Method 10: Run the Internet Connection Troubleshooter A Windows-related solution can work with one of the built-in troubleshooting tools. To do this, follow the instructions below.
Open Settings using the Windows + I keyboard shortcut or access it by clicking the gear icon in the Start menu. Click the Update and Security tab. Select Troubleshooting from the menu on the left. Scroll down and select Internet connections, then click Troubleshoot and apply the fixes (or Run the troubleshooter) and let the troubleshooter do its job. After the troubleshooter is complete, restart your system. You should be able to see if this method worked when browsing Google Chrome. We hope this article has helped you resolve the ERR_CONNECTION_REFUSED error issue in Google Chrome. Enjoy constant internet browsing!
If you're looking for more Google Chrome troubleshooting guides, or want to read more technology-related articles, consider subscribing to our newsletter. We regularly publish tutorials, news articles and guides to help you in your daily technological life.
How to use the function keys without pressing the Fn key in Windows 10
The function keys on the keyboard allow you to get more out of your peripherals - perform various actions quickly without having to move the mouse or exit the applications in which you work. However, there is a way to make your multifunction keyset even more accessible, allowing them to function without pressing Fn on the keyboard. Use function keys without pressing the Fn key in Windows 10 There are two ways to do this, depending on your device and system. Let's unlock the potential of your keyboard.
Method 1. Toggle the Fn Lock key
Some keyboards, most commonly laptop keyboards, come with a special Fn Lock key. Pressing this with the Fn key itself will instantly change your top row from keyboard shortcut functionality to Fn keys, allowing you to perform actions without having to hold down the Fn key. switch the lock key fn
This key is usually an Esc key or a completely separate key. All you have to do is look at your keyboard and look for each key with a padlock symbol.
Once you find this key, press the Fn key and the Fn Lock key at the same time. You will now be able to use the Fn keys without having to press the Fn key to perform functions.
Method 2. Make modifications to the BIOS
In most cases, users do not have a special Fn Lock key on the keyboard. If this is your case, you will need to enter the BIOS to make a modification and start using functions without the Fn key.
Turn off your device completely. Make sure it's turned off before proceeding with the steps below.
Turn on your device and immediately press F10 press about once per second to open the BIOS setup window.
If you have problems accessing the BIOS, we recommend that you consult the official BIOS guide of the current operating system.
Using the right arrow keys and the left arrow keys to navigate, go to the System Configuration option.
Press the up arrow or down arrow buttons to select Action Key Mode, and then press the Enter key to display the menu. Select the Enabled option to require only the F1 through F12 keys to use the action as specified on the action key without having to press the Fn key itself. Press the F10 key again to save the changes and restart your device. Once your system starts, you should be able to use the function keys without having to press the Fn key.

Nadejda Milanova
An experienced Content creator in the field of Search Engine Optimization (SEO) and WordPress. A true proffesional with a Master's degree focused on journalism.
Read more by Nadejda Milanova